Metal Building Assembly
At Worldwide Steel Buildings, our steel building kits are designed to be user-friendly for the true do-it-yourself-er. Erecting our building systems is easy for everyone, not just those with construction experience. When the pieces of your new metal building arrive at the job site, you can offload them from the truck without specialty equipment or an erection crew. As long as you have a way to unload and hoist the larger pieces of the metal building kit, like endwalls with a small forklift, erecting a steel building kit is a true do-it-yourself experience.
Behind the scenes, Worldwide Steel Buildings works hard to achieve perfection in our manufacturing center so you have less work to do on site. This means an enjoyable metal building construction experience, a new building in days instead of weeks, and the assurance of high quality, backed by a best-in-the-business warranty if any of your building kit reveals defects in materials or workmanship over the next fifty years.
Assembly Process
Even though erecting our building systems is incredibly straightforward, most of our customers feel more comfortable beginning building construction if they know what they’re getting into first. While this process will vary by building design, here’s what a typical Worldwide Steel do-it-yourself construction process looks like:
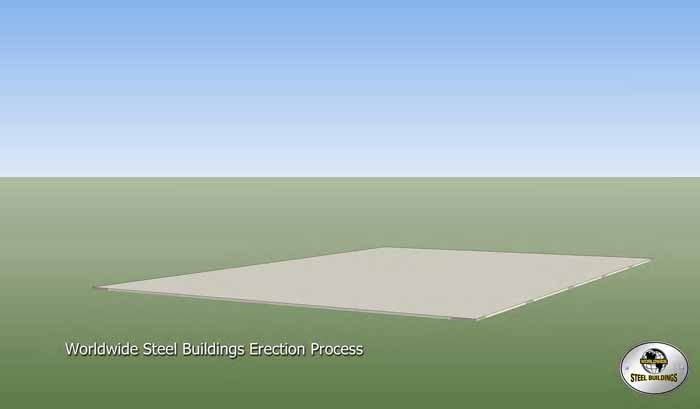
- Ensure the area around your concrete slab is clean and free of debris, so you can offload your building components and lay the materials in place.
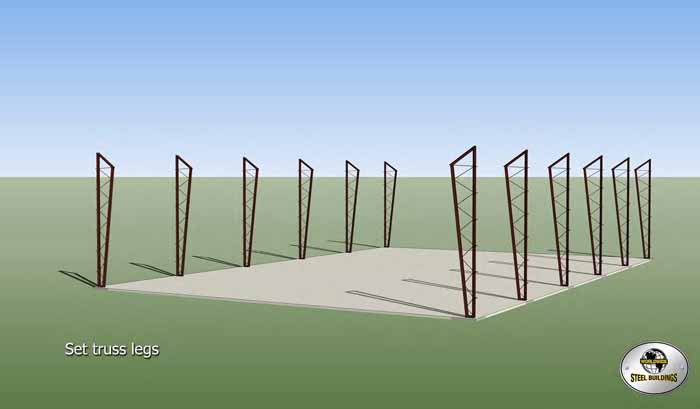
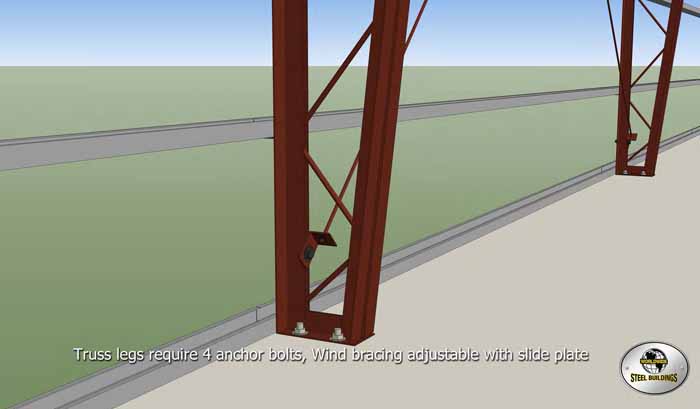
- Begin by setting the truss legs on either side of the slab.
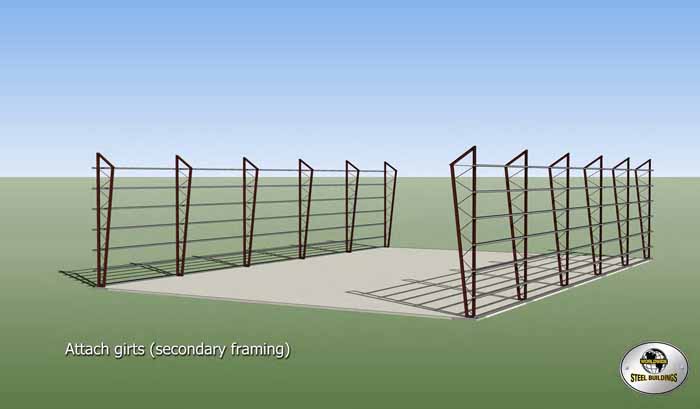
- Attach the girts, also known as the secondary framing, to the trusses. This is what will support your wall panels.
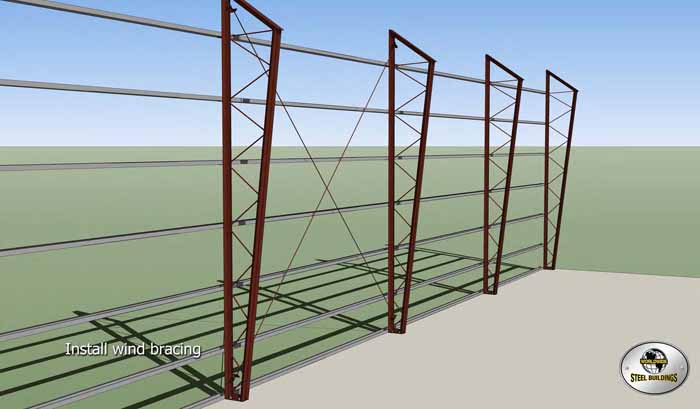
- Install your wind bracing system.
- Secure your truss legs with four (not-included) anchor bolts each.
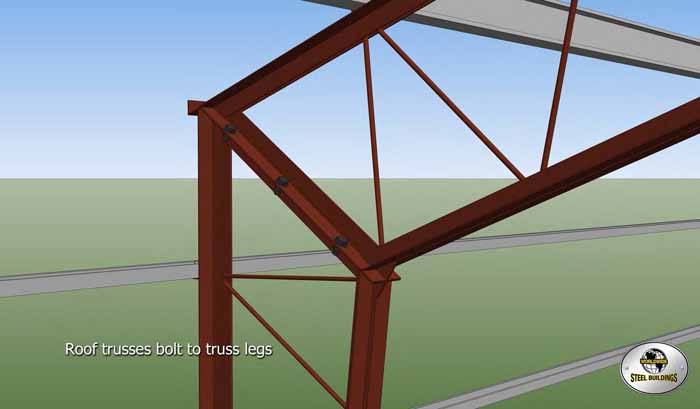
- Bolt the roofing trusses to the leg trusses.
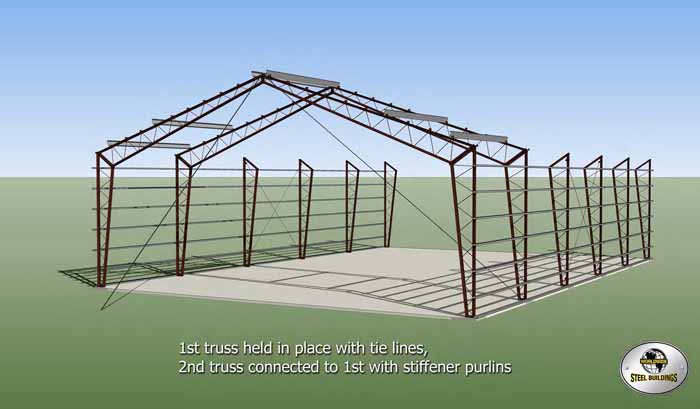
- Attach tie lines to your first truss, then connect the second truss to the first with stiffener purlins.
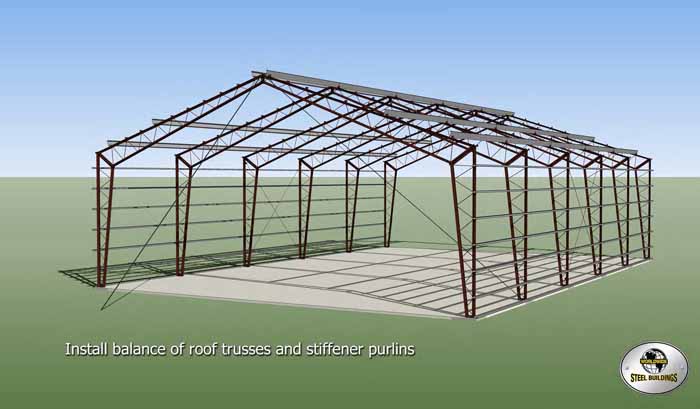
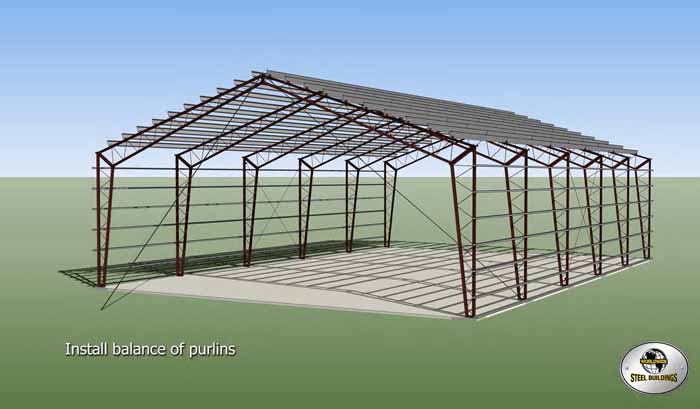
- Install the remainder of roof trusses and purlins.
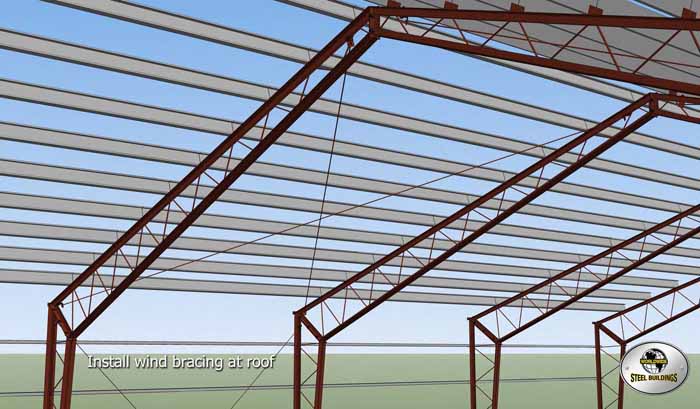
- Attach additional wind bracing to the roofing.
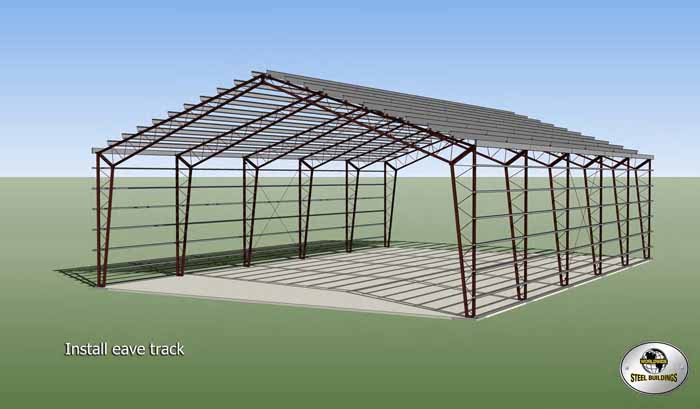
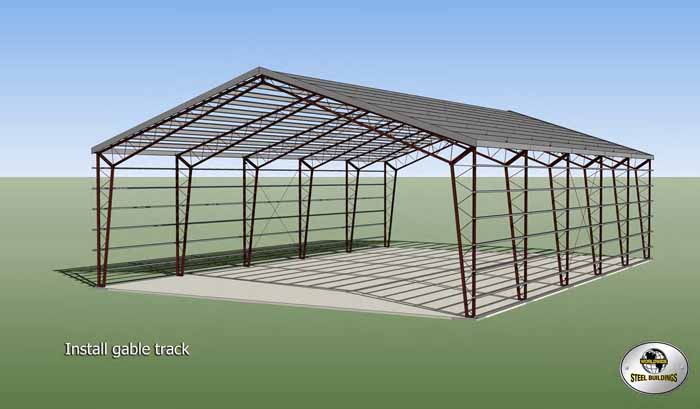
- Install the eave track and gabel track with included fasteners.
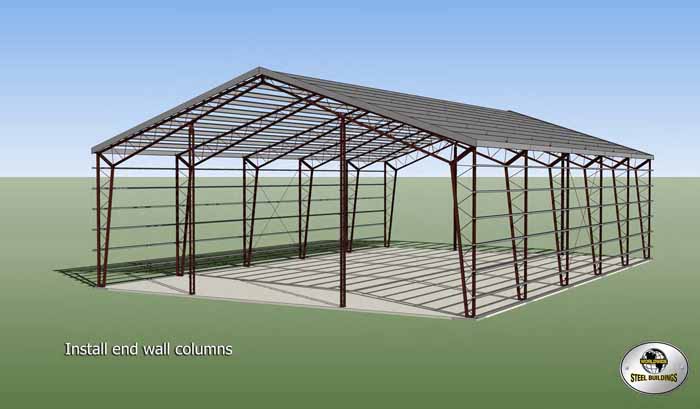
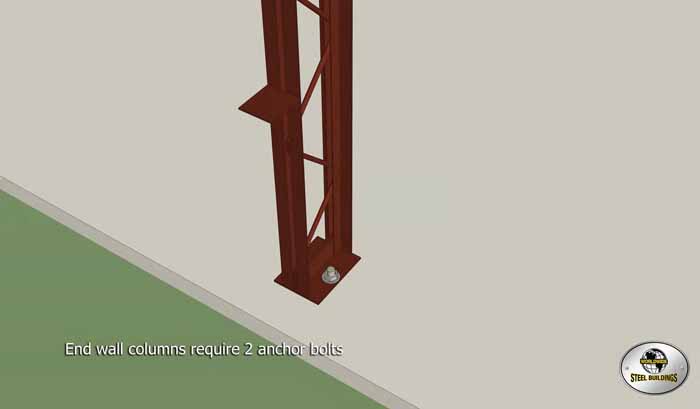
- Install the endwall columns, which will vary depending on the door style you’ve chosen, with the two included anchor bolts.
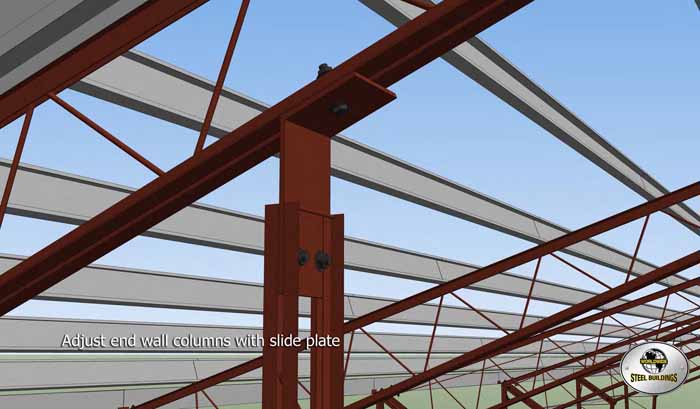
- Use the slide plate to adjust your end wall columns.
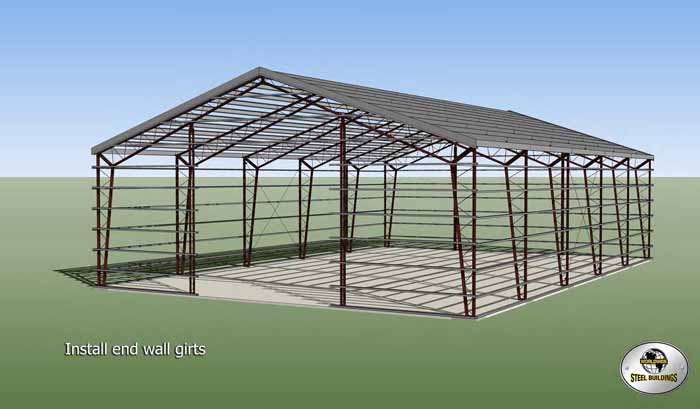
- Install the end wall girts.
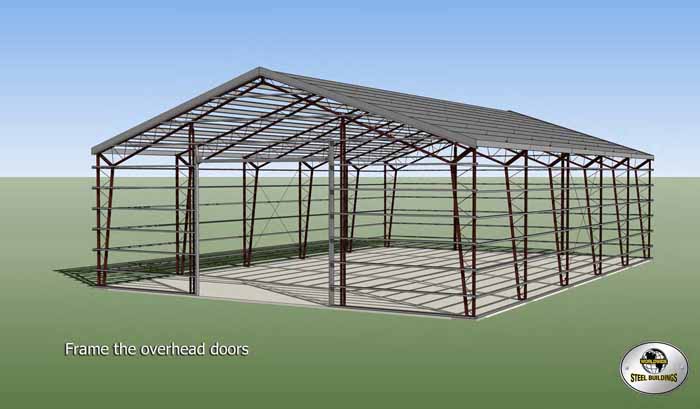
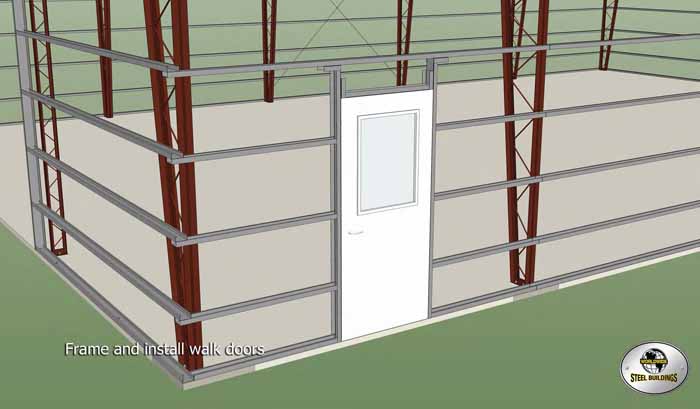
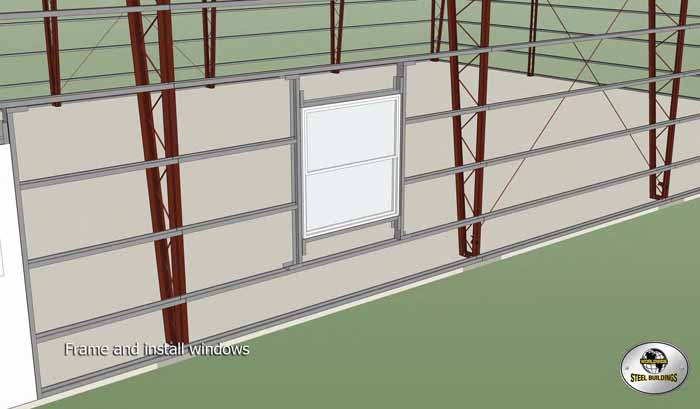
- Frame your overhead doors, any walk-through doors and windows.
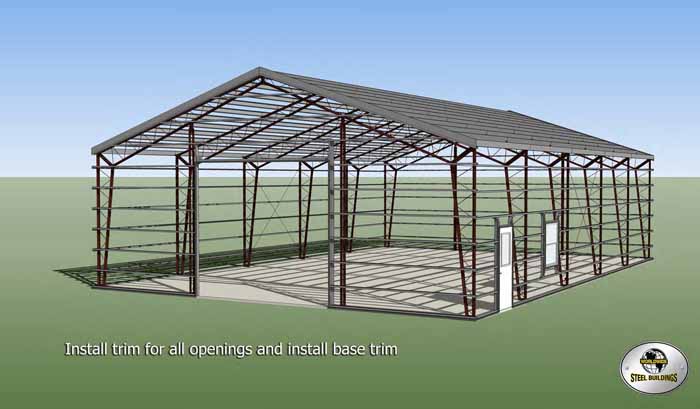
- Add the trim for all openings, including doors and windows, and install base trim.
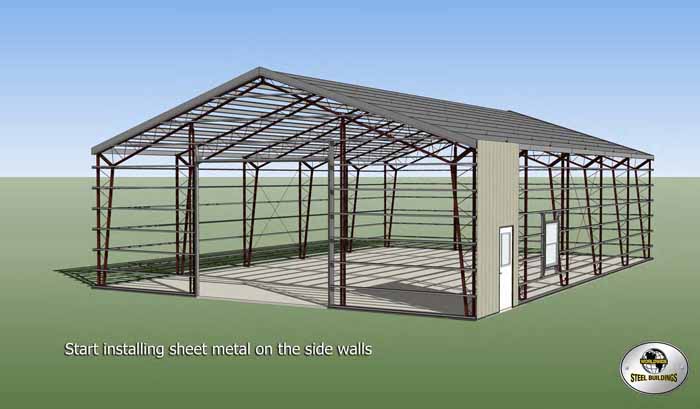
- Install sheet metal wall panels on the side walls.
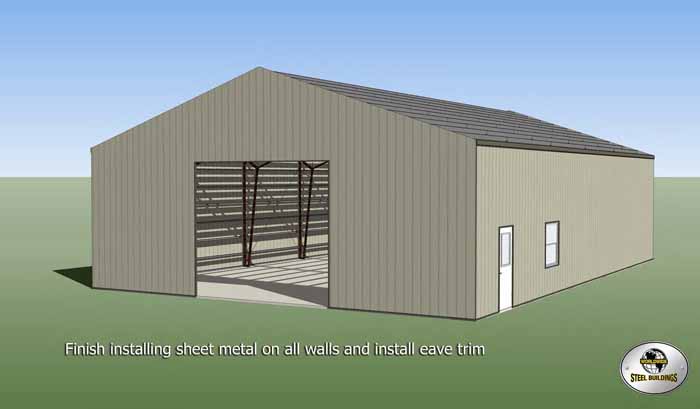
- Once you’ve completed sheeting the wall panels, install the eave trim.
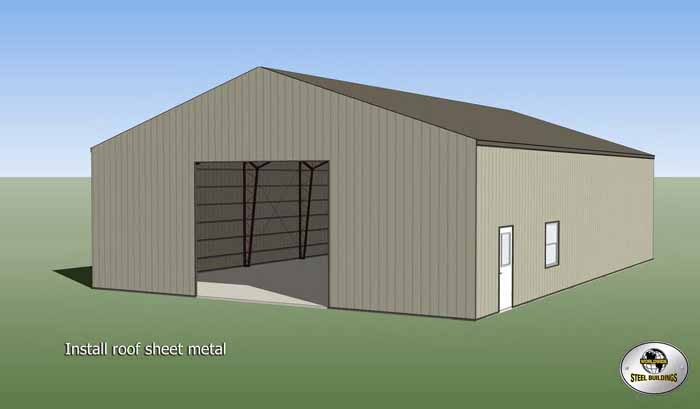
- Install the sheet metal for your roofing.
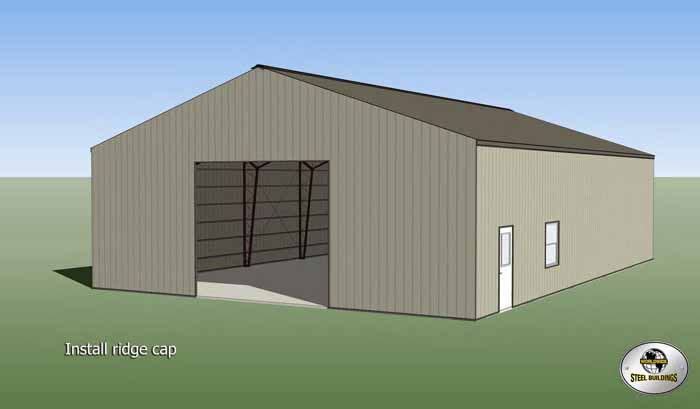
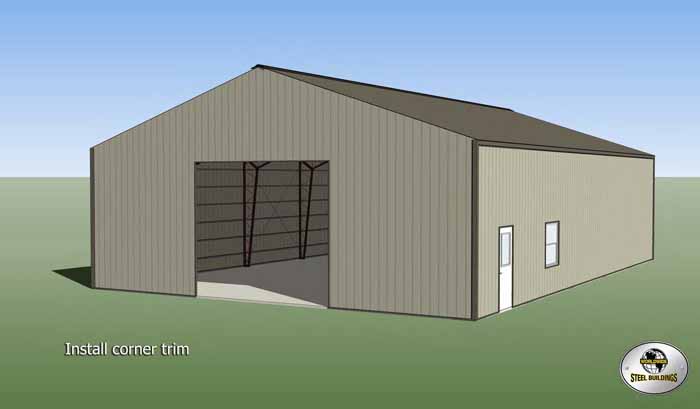
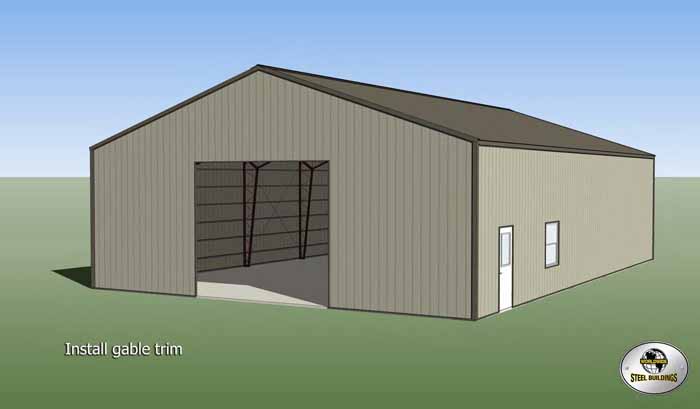
- Add your ridge cap, corner trim and gable trim.
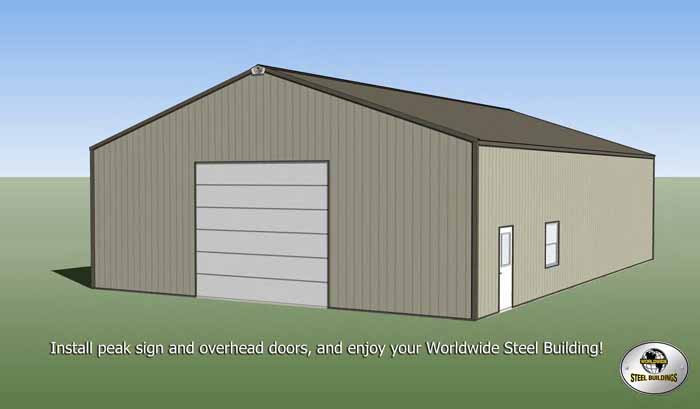
- Install your peak sign and overhead doors.
- Stand back and admire your new Worldwide Steel building!
If you’d like a visual example of what each of these DIY steps looks like, check out the following slideshow:
